steaming the chine logs
The chine logs are the steam bent pieces of wood that run along the bottom of the boat and, in addition to the floor, provide spine-like stiffness and structure to the boat.
Ash is typically the wood of choice for chine logs because of its strength and springyness making it better for absorbing impact without breaking.
This part of the build was super fun! I got to learn about steam bending, practice some precise measuring, and do some fun hand planing, all of which felt like the perfect balance of fun and difficulty...

december, 2020

After waiting a few hours for the steamer to heat, the wood was 'cooked' in it for ~1hr. It was cold (and snowing) so the time waiting was passed buy hanging out with friends and drinking gluhwein.
You'll need some extra hands for the steam bending process, the working time for shaping the wood once it comes out of the steamer is extremely short so having a few friends to help clamp is crucial.

the frames were pre-notched to receive the chine logs

the chine logs get clamped onto the bottom edge of the boat to match its curve

the chine logs, steam bent and ready to be cut & installed

Installing the chine logs can be a bit tricky -- measuring the length and angles accurately is super important as you only have one shot at getting it right.
Ones the angles and length are cut, each end is put in and the chine is hammer down into the frame notches. If all goes well the ends that die into the bow/stern posts are nice and tight!
the joint where the chine logs die into the stern post
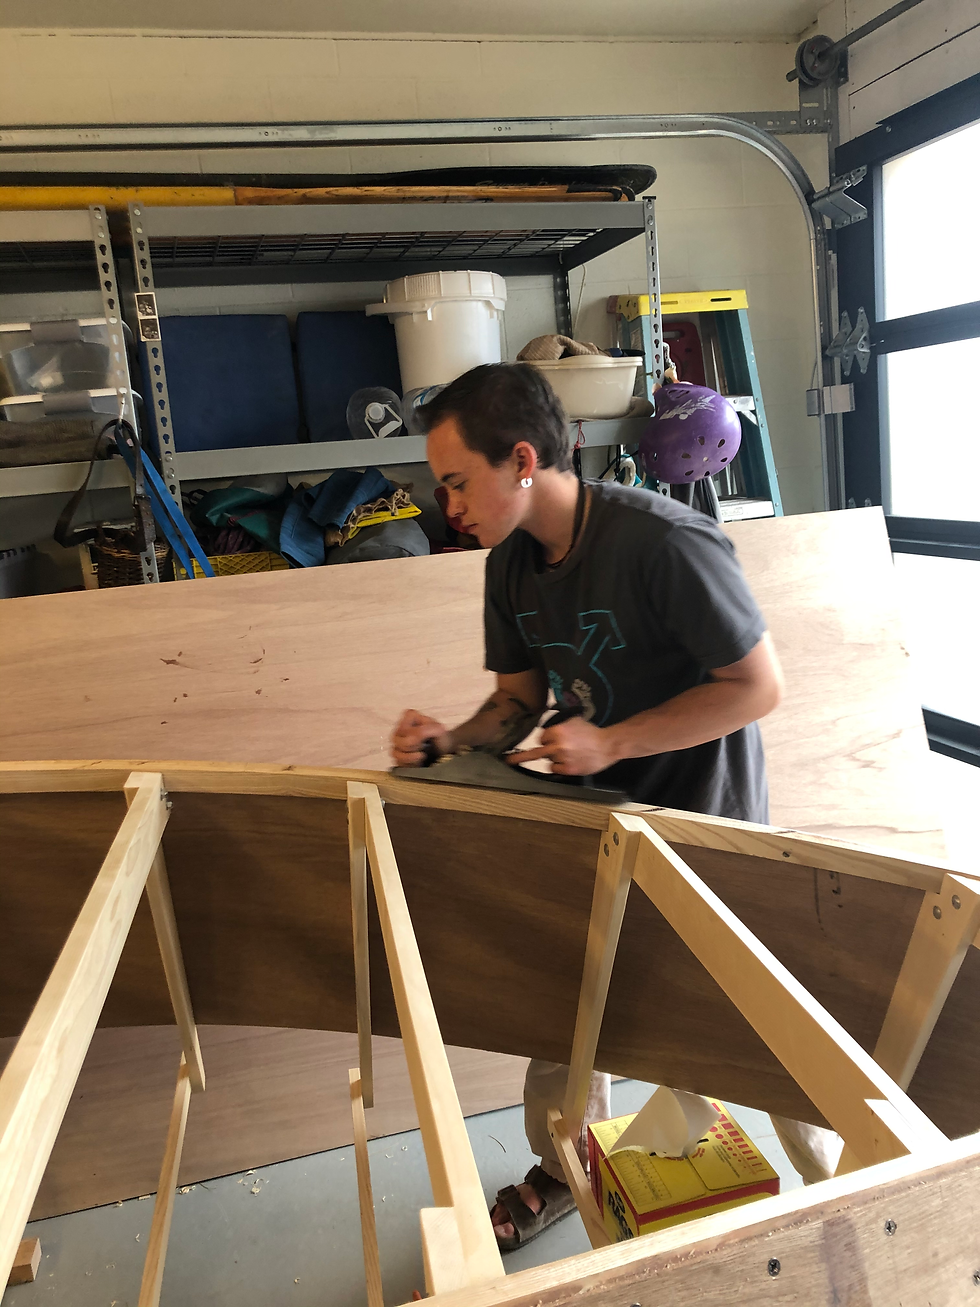
putting on the floor
Once the chine logs are in, they get planed down to make a nice flat edge on which to attach the floor.


checking to make sure the chine log is level with the bottoms of the frames

sharpening the planes; in the background you can see the boat with the floor ratchet-strapped on
Before installing the floor, it's important to make sure that your boat is fair as once the floor is screwed on it will keep that shape, and any wonkiness left unattended... I used a line snapped on the floor from bow to stern and a plumb line dripped from the centerline of the frames to make sure everything lined up.
Ratchet strap were super useful for conforming the 1/2" ply floor to the bottom of the boat as I put in the screws. Once the floor was screwed down, I planed the edges to create a smooth transition from the sides to the bottom of the boat.

the floor on, screwed down, and planed

the planed transition from the sides to the floor

with the hull finished, stage 1 is complete